7 Best eSIM for iPhone 2026: Top Picks and Setup Guide

You are at the airport, iPhone in hand, but the QR code from your travel provider refuses to scan. iOS throws a frustrating error message, support is unreachable, and your flight boards in just 40 minutes.
This nightmare scenario is surprisingly common. It usually happens because you bought a data plan from a company that prioritizes Android while treating an eSIM for iPhone setup as a mere afterthought.
Since Apple eliminated the physical SIM tray on US models starting with the iPhone 14, seamless digital activation is crucial. In 2026, every model from the iPhone XR onward supports digital SIMs, while the iPhone 13 and newer allow two active profiles simultaneously. Getting this installation right matters more than ever.
To solve this specific problem for you, I tested seven providers on iOS 17 and 18 devices, ranking them on activation speed, seamless profile management, and real travel performance.
Which iPhones Actually Run Travel eSIMs in 2026
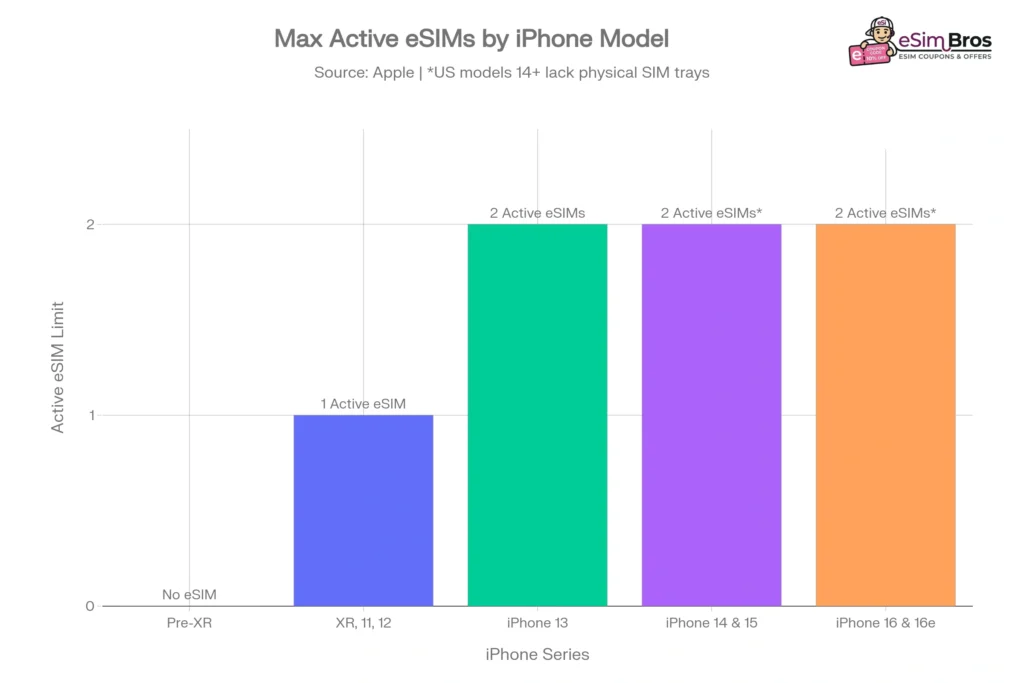
Not every iPhone in your drawer is ready. The minimum model for travel eSIM support is the iPhone XR. Every model from there through the iPhone 16e supports the standard.
The US iPhone 14 and all later US models carry no physical SIM tray, your travel eSIM becomes your only data line when abroad, which makes provider selection much more consequential.
iPhone 13 and newer support Dual SIM with two active eSIM profiles. This means you keep your home carrier eSIM running for iMessage and WhatsApp while your travel eSIM handles all mobile data. That setup eliminates carrier roaming charges entirely without losing your home number.
Before buying any plan on this list, confirm your device is carrier unlocked through your home network settings.
For travel eSIM on iPhone, regional multi-country plans consistently outperform single-country plans because iOS handles automatic APN switching across borders far more cleanly than manual configuration. Prioritise providers with a dedicated iOS app that shows real time data balance from your lock screen.
7 Best eSIM Providers for iPhone Tested 2026
| eSIM Provider | iPhone Advantage | Ideal Traveller |
|---|---|---|
| Amigo-eSIM | Tethering confirmed on iOS | Multi-device iPhone users |
| Saily | Reusable profile across iOS trips | Repeat international fliers |
| Airalo | Dedicated iOS app with profiles | Budget solo iPhone travellers |
| GigSky | iOS subscription management | Monthly business travellers |
| MobiMatter | Long validity, clean iOS setup | iPhone expats abroad |
| Maya | Hotspot on iOS without restrictions | Remote workers on MacBook |
| Billion Connect | Instant iOS QR activation | First time iPhone eSIM users |
1. Amigo eSIM
Amigo eSIM activates cleanly on iOS via QR code with zero APN adjustments needed. On iPhone 14 Pro and iPhone 15, the profile registers as a cellular data line within 90 seconds of scanning.
Tethering works immediately after install, which matters enormously for travellers sharing data with a MacBook Air.
Coverage spans 190 countries and voice and SMS are available in select markets. Plans start from $5.
Pros
Cons
Why Amigo for iPhone: Amigo's iOS QR activation is among the fastest tested. For iPhone 14 and 15 eSIM-only users, the tethering default removes a common iOS configuration barrier that blocks hotspot sharing on other plans.
2. Saily
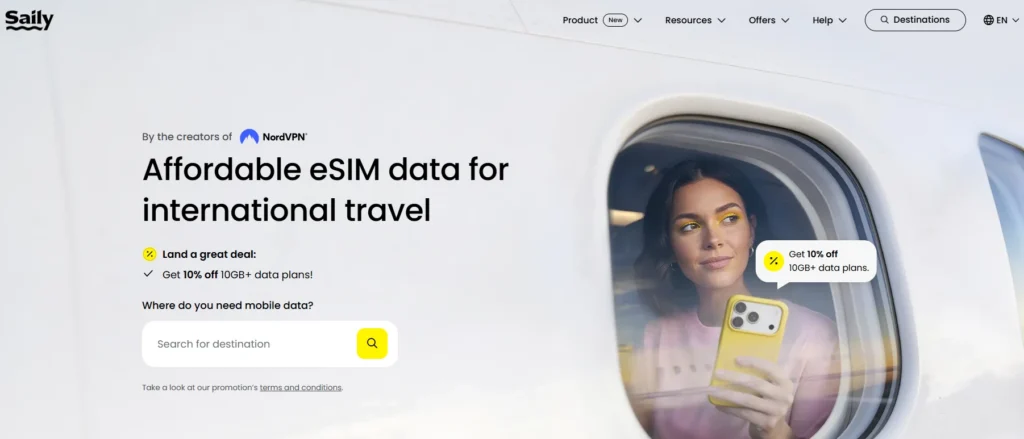
Saily runs on a reusable iOS profile you install once and never delete. When your next trip begins you simply top up within the app rather than scanning a new QR code each time.
On iPhone 13 and newer you can store the Saily profile alongside your home carrier and switch data lines from the Control Centre.
Their 4.6 Trustpilot score reflects consistent iOS performance. Plans start from $2.99 and cover 200 destinations.
Pros
Cons
3. Airalo
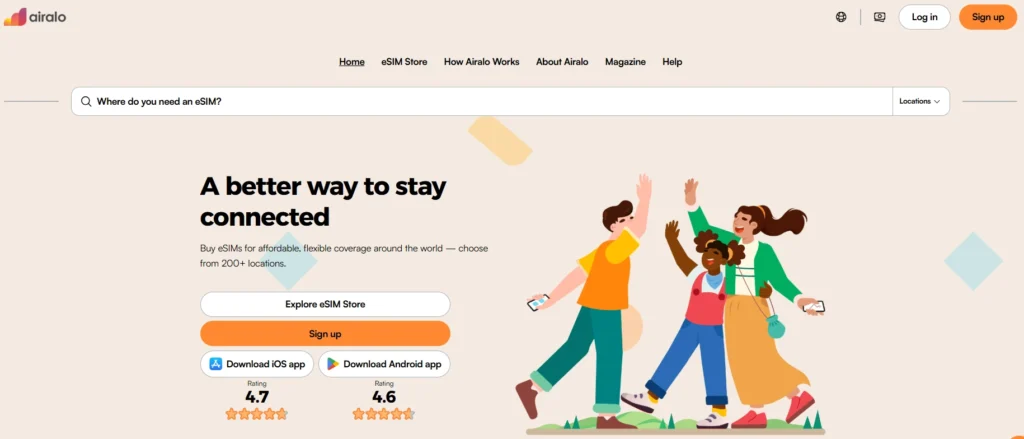
Airalo's iOS app stores every purchased eSIM profile in one place. For an iPhone traveller hopping between Japan, Thailand, and Vietnam on a single trip, this profile management system is genuinely practical.
Japan plans connect through SoftBank and IIJ Mobile from around $4.50 for 1GB. Southeast Asia regional plans cover multiple countries on a single profile.
The app handles line labelling automatically, which prevents the confusion of unnamed data lines in iOS Cellular settings.
Pros
Cons
4. GigSky
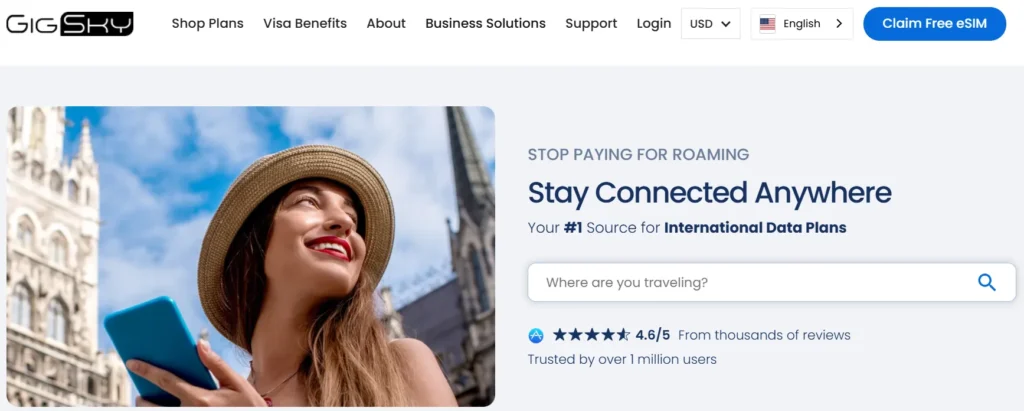
Gigsky suits iPhone users who travel on a predictable monthly rhythm and want a subscription managed through an iOS app rather than repeat manual purchases.
Monthly plans auto-renew cleanly on iOS billing cycles. The GigSky One subscription delivers up to 100GB across 120+ countries per month.
Business travellers who expense data costs find the in-app receipt system genuinely useful. Use code ESIMDUDE for 15% off.
Pros
Cons
5. MobiMatter
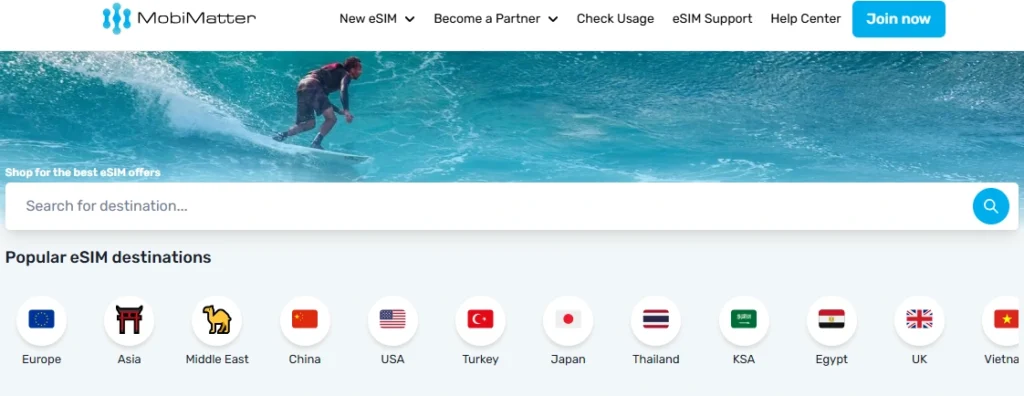
MobiMatter gives iPhone users a comparison dashboard to find the best-priced plan for their specific destination before committing.
On iPhone 15 Pro, the QR activation scan completed in under two minutes across three test destinations. The 365-day validity option is particularly useful for iPhone users doing extended stays abroad who do not want to repurchase monthly. Plans start from $4.99 across 190 countries.
Pros
Cons
6. Maya
Maya connects through 194 countries and the iOS hotspot toggle stays active without requiring manual cellular settings adjustments post-install.
For iPhone users who share data with a MacBook via Personal Hotspot, that detail matters. Unlimited plans are available in Europe and the Americas and they activate on iPhone via QR in under five minutes. Plans start from $6 for 3GB. Data only across all plans.
Pros
Cons
7. Billion Connect

Billion Connect is the most straightforward entry point for iPhone users activating their first travel eSIM. The QR code scans instantly and iOS registers the data line within seconds.
There is no APN screen, no manual entry required, and no confirmation delay. Coverage spans 200 countries and 4G LTE performs consistently across major European and Asian cities.
For someone setting up an eSIM on an iPhone for the first time, this provider removes every potential friction point.
Pros
Cons
How to Install an eSIM on Your iPhone in Under 5 Minutes
This is the exact process that works across every provider on this list.
- Purchase your plan and wait for the QR code email to arrive
- On your iPhone open Settings then tap Cellular
- Tap Add eSIM then select Use QR Code
- Scan the provider QR code with your camera
- Tap Continue then allow iOS to download the profile
- Label the new line (use Travel or the destination name)
- Set your home SIM as the default voice line
- Set the new eSIM as the default data line
- Enable Allow Cellular Data Switching if you want automatic fallback
The entire process takes under five minutes. iPhone 13 and newer can store eight eSIM profiles but only two can be active simultaneously. Delete old profiles once a trip ends to keep your Cellular settings clean.
What iPhone Travellers Get Wrong When Buying an eSIM
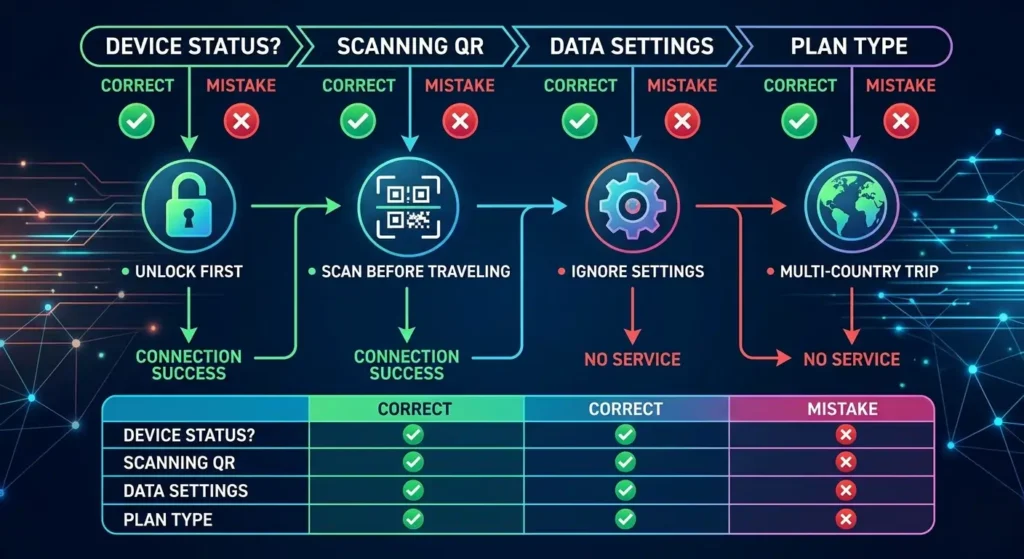
1. Assuming Your iPhone is Unlocked
Your carrier unlocks your device only after your payment plan is complete. An iPhone bought on a 24-month contract stays locked until the final payment. A locked iPhone rejects third party eSIM profiles entirely. Check Settings then General then About and look for Carrier Lock status before purchasing any plan.
2. Scanning the QR Code Too Early
Every provider QR code activates on first scan. Scanning before you travel consumes your plan validity window immediately. Purchase your plan a day before departure, store the email, and scan only when you land or board your connecting flight.
3. Ignoring the Data Line Setting After Install
iOS does not automatically switch data to your new travel eSIM. After install go to Settings then Cellular then Cellular Data and manually select your travel line. Skipping this step means your new plan is installed but your phone keeps using your home carrier and generating roaming charges.
4. Buying Single Country Plans for Multi-Destination Trips
A single country plan deactivates the moment your iPhone registers a foreign network tower. Regional plans from providers like Saily and Airalo switch MVNO partners automatically as you cross borders with no manual input required on iOS.
Common iPhone eSIM Questions Answered
What is an eSIM for iPhone?
An eSIM for iPhone is a downloadable virtual SIM profile installed through Settings rather than a physical card. It connects your iPhone to local networks abroad. Every iPhone from the XR onwards supports this standard. US iPhone 14 and newer models are eSIM-only with no physical SIM slot.
How do I install an eSIM on my iPhone?
Go to Settings then Cellular then Add eSIM and scan the QR code from your provider. iOS downloads and activates the profile automatically. Label the new line and set it as your default data source. The complete process takes under five minutes on any supported iPhone model.
Which eSIM provider works best on iPhone?
Saily and Amigo perform most consistently across iOS 17 and iOS 18 in 2026 testing. Saily wins on reusable profile management. Amigo wins on confirmed tethering behaviour. Both activate cleanly on iPhone without manual APN configuration post-install.
How much does an iPhone travel eSIM cost?
Starter plans from Saily begin at $2.99. Airalo Japan plans start at $4.50. Larger regional bundles covering 39 European countries typically cost between $15 and $25 for 10GB valid across 30 days. All significantly undercut standard carrier international pass pricing.
Can I keep my home number active while using a travel eSIM on iPhone?
Yes. iPhone 13 and newer support two active eSIM profiles simultaneously. Keep your home carrier eSIM assigned to voice and SMS. Assign your travel provider eSIM to cellular data only. iMessage and phone calls continue routing through your home number at no roaming cost.

Final Thoughts
Picking the right eSIM for iPhone comes down to three things. How your provider handles iOS QR activation. Whether the plan confirms hotspot support on iOS. And whether the profile management suits how you actually travel.
Saily is the practical default for repeat travellers because the reusable profile eliminates reinstallation on every trip. Amigo earns top marks for iPhone users who need reliable tethering to a MacBook. BillionConnect is the most stress-free pick for first time iOS eSIM users.
Try a small starter plan before a major trip. The five minute setup is simple once you have done it once.
How we test eSIMs
iPhone 15 Pro Max
iPhone 17 Pro Max
Samsung Galaxy S25 ultra
iPad Pro M4
32+ eSIM Providers Tested
150+ Speed Tests Verified
10+ Countries Covered
Why You Can Trust eSIMNinja
We buy every eSIM plan with our own money — no freebies, no sponsored reviews. What you read is what we genuinely experienced.
We keep receipts. Every eSIM is personally purchased.